
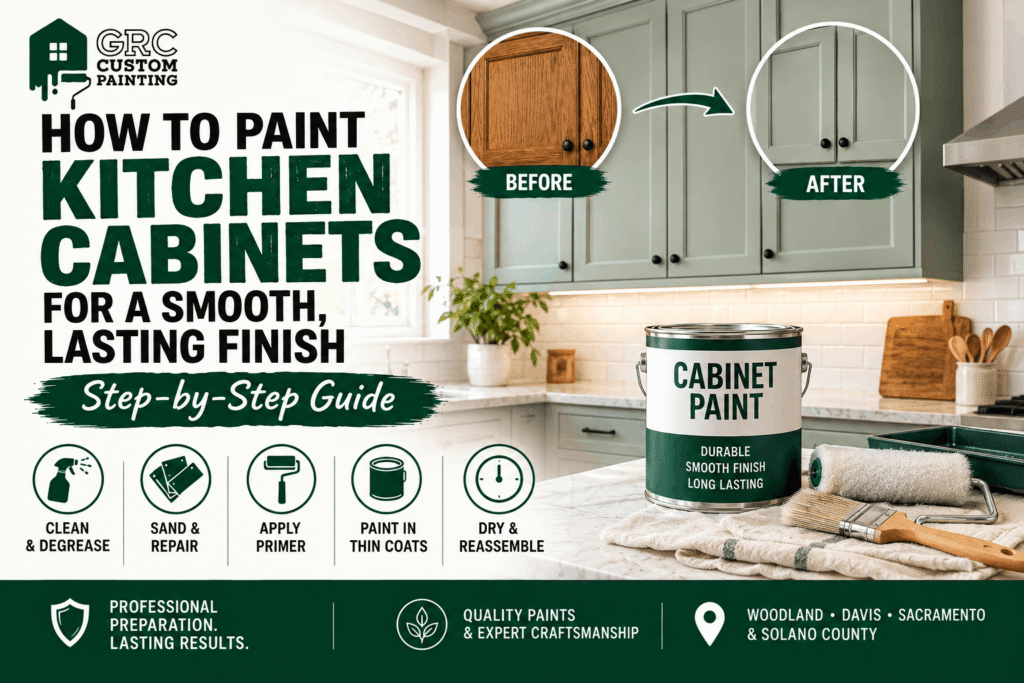
To paint kitchen cabinets for a smooth, lasting finish, start by removing doors and hardware, cleaning away grease, repairing damage, and preparing the existing coating. Apply compatible primer and cabinet paint, following the manufacturer’s drying instructions between coats and before reassembly.
I’m Gerry, the owner and painter behind GRC Custom Painting. I spray kitchen cabinets as my standard application method. I use a brush and roller only when a homeowner specifically requests that approach. Whichever method is chosen, careful preparation remains essential.
Here’s how to approach the process, from assessing your cabinets to putting the doors back on.
Are Your Kitchen Cabinets Suitable for Painting?
Painting works best when cabinet doors, frames, and boxes are structurally sound. It can refresh worn-looking surfaces, but it cannot fix swollen particleboard, loose joints, or coverings that are coming away.
What Should You Check on Wood, Painted, and Laminate Cabinets?
Inspect areas around the sink for water damage and check door edges for lifting veneer or laminate. Resolve leaks and structural problems first.
Wood cabinets can retain visible grain after painting. For a smoother appearance on oak, you may need a compatible grain filler; additional paint alone will not reliably hide deep pores.
Previously painted cabinets need a firmly attached existing coating. Laminate and melamine require products approved for those surfaces, while peeling thermofoil needs assessment before painting.
If your home was built before 1978, assess old coatings for lead before sanding or scraping. EPA recommends testing by a certified lead inspector or risk assessor and using lead-safe work practices where necessary.
What Paint, Tools, and Workspace Do You Need?
Choose a cabinet-rated coating and compatible primer, then arrange a clean, protected area where doors can dry without touching each other.
Cabinet enamel is designed for demanding surfaces such as doors and trim. Check for suitability, leveling, and resistance to sticking, rather than choosing by color or sheen alone. Satin offers a softer appearance; semi-gloss reflects more light and can make surface imperfections more noticeable.
Have a screwdriver, labels, hardware bags, protective coverings, degreaser, filler, abrasives, dust-removal supplies, brushes, and a suitable mini roller ready.
Follow the product instructions for ventilation, protective equipment, application temperature, and humidity. Leave enough drying space to avoid stacking freshly painted parts.
How Do You Paint Kitchen Cabinets Step by Step?
Prepare the surface fully before applying finish coats. Cleaning, sanding, priming, and painting solve different problems, so skipping one stage can affect everything applied afterward.
Step 1: Protect the Kitchen and Label the Parts
Clear the working area and cover countertops, flooring, and appliances. Protect cabinet interiors that will remain unpainted.
Photograph the layout, then label each door and drawer front to match its opening. Store handles, hinges, and screws in corresponding bags. Keep identification marks somewhere they will remain readable without showing after reassembly.
Remove doors and detachable drawer fronts where practical. Keep paint away from hinges, drawer slides, and other moving hardware.
Step 2: Clean Away Grease Before Sanding
Clean cabinets thoroughly, especially above the stove, near handles, and beside the sink. Sanding first can spread contamination across the surface.
Use a degreaser suitable for the existing finish, following its dilution and residue-removal instructions. Avoid saturating joints or exposed composite-board edges.
Allow surfaces to dry fully. If grease remains, repeat the cleaning before moving on.
Step 3: Repair Damage and Prepare the Surface
Fill dents, chips, and unwanted hardware holes with a compatible repair product. Let it dry, then sand the repair level.
Choose sandpaper according to the surface and coating system. Behr lists 150–220-grit abrasives for its cabinet-painting project, but this is not a universal specification. The aim on a sound finish is to reduce gloss and smooth defects without damaging veneer or shaped edges.
Remove loose paint and investigate why it failed. Where oak grain needs filling, follow the filler manufacturer’s preparation instructions.
Remove sanding dust thoroughly, including from corners and grooves. A surface can look clean while still holding dust that will spoil the finish.
Step 4: Prime and Check the Surface
Use a primer compatible with both the cabinet surface and the finish paint. Bonding primers help with adhesion on suitable challenging surfaces; stain-blocking primers control discoloration. Some products provide both functions.
If the existing finish is uncertain, test the proposed system in an inconspicuous area using the manufacturer’s adhesion-testing procedure.
Apply an even primer coat and allow the required drying time. Check for roughness, raised fibers, or drips. Smooth these where instructed, then remove the dust before painting. Sherwin-Williams includes adhesion testing and smoothing the primed surface in its cabinet-painting guidance.
Step 5: Spray Cabinet Paint in Even, Controlled Coats
I spray cabinets to achieve an even finish without brush or roller texture. Before application, protect surrounding surfaces thoroughly and confirm that the coating, spray equipment, ventilation, and protective equipment are suitable for the work.
Use the coating manufacturer’s recommended equipment settings and application thickness. Test the spray pattern before coating the cabinet parts, then apply controlled, overlapping passes. Avoid allowing excess material to collect around profiles, corners, and edges.
Keep doors and drawer fronts securely supported. Allow sufficient drying before turning or moving them, and protect freshly coated surfaces from dust and pressure marks.
Apply the number of coats specified for the selected system. Coverage, color changes, and the required film thickness determine the final application. Spraying does not remove the need to follow minimum recoat times.
Inspect between coats. Where the product instructions call for sanding, let the coating dry sufficiently, smooth imperfections carefully, and remove dust before continuing.
Brushing and rolling are alternative application methods, but I use them on cabinets only when the homeowner specifically requests that finish.
How Long Does Cabinet Painting Take Before You Can Reassemble Everything?
Allow for multiple work sessions plus drying periods. The number of doors, repairs, workspace, application method, and product instructions determine the schedule. Avoid planning around a guaranteed one-weekend finish.
Dry-to-touch, ready-to-recoat, safe-to-handle, and fully cured are different stages. Paint may feel dry while remaining vulnerable to pressure or cleaning.
Reinstall doors and hardware when the manufacturer allows handling and reassembly. Adjust hinges so painted edges do not rub.
Use cabinets gently while the finish continues hardening. Avoid stacking painted parts or scrubbing surfaces prematurely. Follow the coating’s cleaning guidance before returning shelves and doors to normal use.
What Else Should You Know Before Painting Kitchen Cabinets?
A few practical decisions can change the preparation required and the result you achieve. Settle these before starting so you can choose a suitable process.
Can You Paint Kitchen Cabinets Without Sanding?
Sometimes, if a specific coating system permits it on the existing surface and adhesion testing supports it. “No sanding” does not mean skipping degreasing, repairs, or removal of failing paint.
Can You Paint Over Existing Cabinet Paint?
Yes, when the coating is sound and compatible with the new system after preparation. Peeling, cracking, or persistent softness needs investigation first. Another coat cannot stabilize a failing base.
Should You Paint Inside Kitchen Cabinets?
It is optional. Clean, sound interiors can remain unpainted while visible frames, doors, and drawer fronts receive a new finish. Painting shelves adds preparation and waiting time before dishes can safely return.
Do You Spray Kitchen Cabinets or Brush and Roll Them?
I spray kitchen cabinets as my standard method. Brushing and rolling are available when the homeowner specifically requests them. These methods can leave different surface textures, so I discuss the desired finish before starting.
Why Do Painted Cabinet Doors Stick or Peel?
Sticking may result from premature closing, excessive paint buildup, or rubbing edges. Peeling can indicate contamination, moisture, poor preparation, or incompatible coatings. Identify the cause before repainting.
When Should You Hire a Cabinet Painter?
Professional help makes sense when the existing finish is uncertain, preparation is extensive, or you lack a suitable spraying and drying workspace. Spray application requires careful masking, equipment control, and appropriate ventilation and protective equipment.
I provide cabinet painting and refinishing in Woodland and serve homeowners in Davis and Sacramento. I personally handle preparation, spray painting, and reassembly. If you prefer brushing and rolling, let me know so we can discuss that request before the work begins. Contact me for a free estimate.